1. Install tailwindcss:
Tại project root:
 yarn add -D tailwindcss
 npx tailwindcss init
-> File tailwind.config.js được sinh ra
2. tailwind.config.js
Watch sự thay đổi của html,js trong ./src để re-compile, thêm jsx,ts,tsx nếu cần thiết
module.exports = {
  content: ["./src/**/*.{html,js}"],
  theme: {
    extend: {},
  },
  plugins: [],
}
3. Tạo file ./src/tailwind.css với nội dung:
@tailwind base;
@tailwind components;
@tailwind utilities;
4. Scripts tailwind:watch và tailwind:build
Thêm vào scripts của package.json
"scripts": {
	"tailwind:watch": "npx tailwindcss -i ./src/tailwind.css -o ./public/styles/tailwind.build.css --watch",
	"tailwind:build": "npx tailwindcss build -i ./src/tailwind.css -o ./public/styles/tailwind.build.css --minify"
}
5. Thêm style vào ./public/index.html
Trong vùng thẻ <head>, thêm:
<link href="%PUBLIC_URL%/styles/tailwind.build.css" rel="stylesheet">
6. Chạy đồng thời với react-scripts
6.1. Cài đặt npm-run-all
yarn add -D npm-run-all
6.2. Script start:dev và build
"scripts": {
	"start:dev": "npm-run-all -p tailwind:watch dev",
	"dev": "env-cmd -f .env.development react-scripts start",
	"build:stg": "yarn tailwind:build && env-cmd -f .env.stg react-scripts build",
	"build:prod": "yarn tailwind:build && env-cmd -f .env.production react-scripts build",
}
7. Ignore file /public/styles/tailwind.build.css
Thêm vào file .gitignore
/public/styles/tailwind.build.css
Sử dụng:
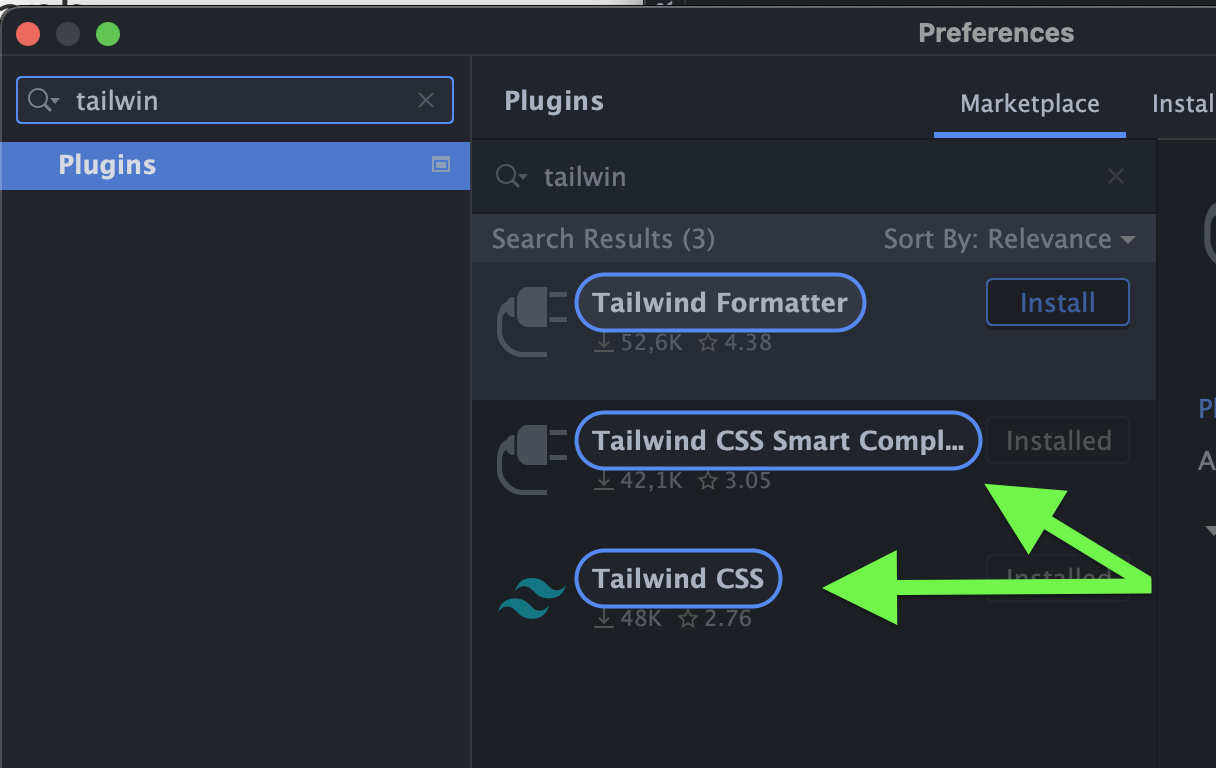
Cài đặt plugins

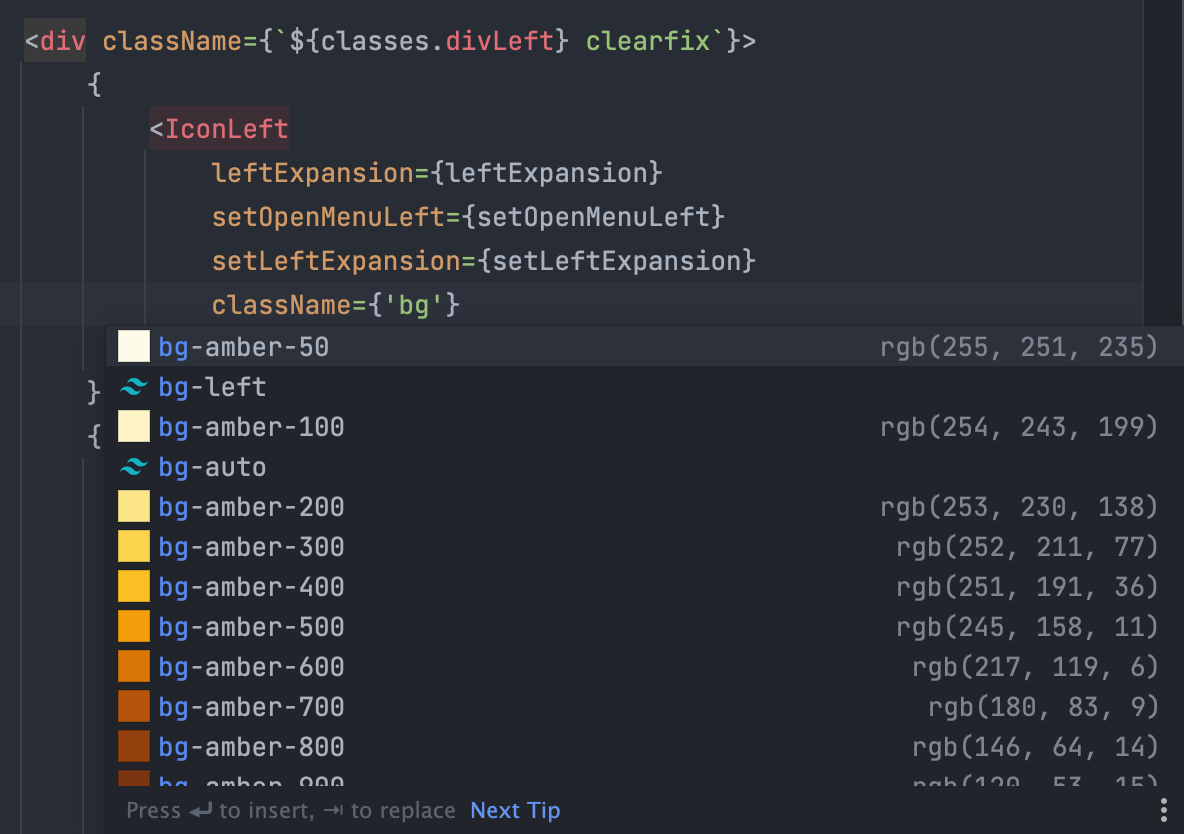
Bắt đầu sử dụng:

Link hữu ích: https://tailwindcss.com/ https://tailwindui.com/ https://tailblocks.cc/
😱🍖🍺